With the introduction of Canola2 beta on the Nokia 770 comes the possibility that Canola will not play any files that use accented characters in the filename.
Ever the resourceful I thought to myself what is the best free program that would allow the quick and easy remove/replacement of accents from any filename. The program I found was Bulk Rename Utility.
Below are some images to highlight the option to use to replace accents with standard characters which highlights in green the outcome prior to committing the rename of the files.
a) First and example of the different accent characters in *.txt files, renamed to standard characters using BRU.
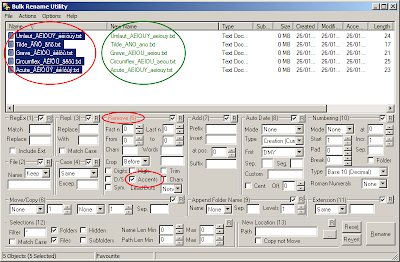
b) Applying the same technique to a typical set of mp3 files, where the filename utilises accented Characters.
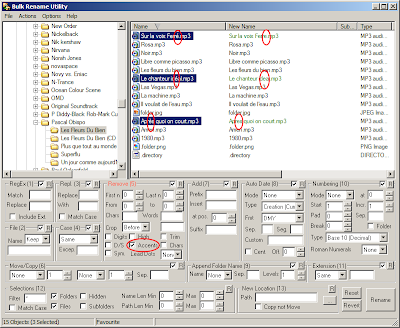
I appreciate that a mp3 tagging program will probably do the same but the beauty of BRU is it can be used on many different file types and in many many different situations and therefore thought it worth bringing to the attention of Nokia 770, OS 2006 users and promoting in my blog.
I could not find a similar program in a GUI for MAC or Linux PC's, please do offer suggestions if you are aware of any.
AV Media, Anytime, Anywhere!
Personal view on methods to enjoy local & personalised AV Media with increased around the globe availability via the Internet, broadband and Wi-Fi. Film, Internet TV, Music, TV, Videoblog etc.
Sunday, January 27, 2008
Canola2 Beta Howto, Plugins (Page 6)
From Page 5
6a) Plugin icons in extras menu for Album Cover & Video Thumb Plugins. These and very soon hopefully more plugins will probably be found Here.
6b) Album Cover Plugin at work (Note: Requires internet connection)
6c) Album Cover Plugin Complete. (Simply close the window once script has confirmed task complete)
6d) Here is the resulting, Album cover view in Canola, where selecting an Album will provide more information on selected Album.
6e) You will notice that I selected the Tom Baxter, Skybound Album and am now provided with a list of tracks on the album in track list order. (Note: Kinetic scrolling is available for viewing the tracks)
6f) You can see that I selected the track "The Last Shot" which is now plying in the standard Canola player window, but with the addition of album art.
6g) Video Thumb Plugin at work (Note: this utility scans Video's to grab an frame from the Video, at least this is my understanding of what the option does, its currently a little hit and miss at grabbing a frame with an image?)
6h) Video Thumb Plugin Complete. (Again simply close the window once script has confirmed task complete)
6i) Here is the resulting, My Videos view in Canola, where selecting a video will begin video playback in Canola Player window. (See Page 4 for further details on Video Playback)
Currently "The End" of my Canola2 beta Howto, but please watch this space and re-vist my blog as I do intend to update existing pages with more detail and add additional New Pages; when Canola2 improvements are released such as UPnP Server, Controller and Player capabilities.
Return to Page 1 of Canola2 beta Howto.
Canola2 Beta Howto, Internet Media (Page 5)
From page 4
5a) With the Internet Media option in the settings menu we are able to specify Podcasts, Internet Radio and Photocasts feeds that are of most interest to ourselves.
5b) Lets take Internet Radio as an example of how to save a URL of interest. First we go to the Add URL Menu.
5c) Then we switch to the Nokia's microb browser to find a suitable Internet radio URL of interest, Here I am looking at the Shoutcast stations and am selecting the "tune in" button in order to have the option in microb to copy the URL Link.
5d) Back in Canola, where if we select the "Add URL" field the finger keboard automatically appears, where we can then use the paste option to good use to enter the URL we just copied from the microb browser window.
5e) Here we can see the Shoutcast URL entered in the Canola URL field. (Tip don't forget to hit the return Key to allow Canola to check URL and if acceptable add to your personalised list of Internet Radio URL's)
5f) When we have entered and saved a URL correctly it will appear as shoutcast.com (1025) is shown in image below. (Note the pencil icon for editing the shoutcast URL)
5g) If we select the Pencil, we are able to Edit or Delete the URL. (Although when it's selected we lose the information about the URL we are about to edit or delete?)
5h) Going back into Canola to play Audio, Internet Radio we are presented with Internet Radio stations than we have loaded in the Canola settings menu.
5i) Selecting the station can be initially confusing when the URL provides a number of sub-url's to ensure we connect successfully to the station of interest. (i.e. If one link is not working the idea is to automatically move to next.) I always pick the first in the list!
5j) Here we are playing the Internet Radio station in Canola. Note that the information is missing about the track being played, believe this will be fixed soon.
5k) By comparison and to contrast, I ran the same Internet Radio URL through the standard Media player of the NIT & OS2008. Note that artist and Track information (All sub-url's listed too)
5l) Here I have switched the standard media player to single station and playback information view.
To page 6, to be continued!
Canola2 Beta Howto, Videos (Page 4)
Back to Page 3
4a) Here we are Videos
4b) Here we are viewing the videos available locally in a filmstrip view.
4c) Here we are playing the Anna Abreu Video that came on the memory of the N810.
4d) Another Video being played in fullscreen view, which is enetered and exited from, by clicking in the middle of the video window.
Forward to Page 5
Saturday, January 26, 2008
Canola2 Beta Howto, Photos (Page 3)
Back to Page 2
---edited 30/01/08--- to add new 3c) "cascade of thumbnailed photos" the later images re-ordered/numbered accordingly, ensure correct usage sequence is maintained.
3a) Here we are looking at the photos options, where we have My Photos and Photocasts
3b) Selecting My Photos, Gives us folders with Photos found by scanning areas to be watched.
3c) Selecting the folder All Photos, provides a cascade of thumbnailed photos, which can be easily kinetically scrolled from side to side.
3d) Upon selecting a photo, Canola takes a second, to load All Photos into a side to side scrollable Filmstrip view. Here is loading the photos in a manner that means we can quickly scroll from one picture to the next in this mode.
3e) Here we can see that the Pine_Forrest Photo is loaded and also have an idea of photo content on either side of this image.
3f) Here we can see that the Humpback Whale Photo again with an idea of photo content on either side of this particular image.
3g) Here we can see the display options, i.e. we can manually go forward and back or we can play our photos as a slide show.
3h) Here we can see what happens when we use the rotate picture options, on the left of the screen.
Forward to Page 4.
Canola2 Beta Howto, Settings (Page 2)
Back to Page 1
So once again from the top Canola menu we are able to select other options.
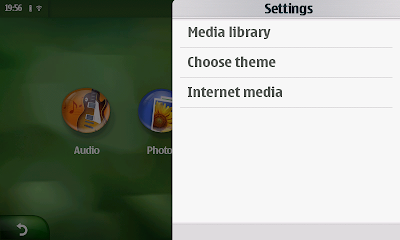
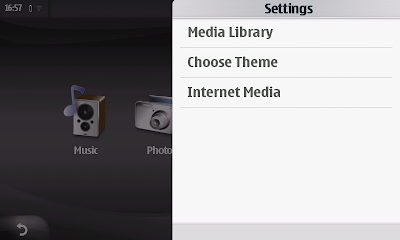
2a) For example selecting the Settings option provides, Media Library, Choose theme and Internet Media options.
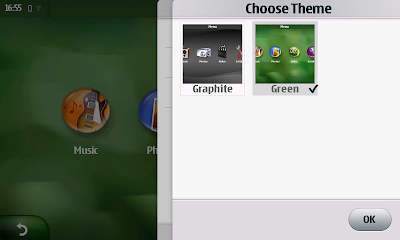
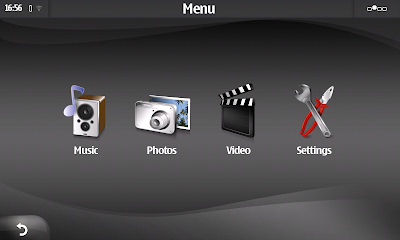
2b) Selecting Choose Theme, allows switching between the Green and Graphite themes, simply by ticking the theme required.
2c) I like the way the theme changes from one to another, with a simple tick in a box.
2d) Selecting Media Library, now using the Graphite Theme.
2e) Selecting Media Library, allows users to specify the watch folders for Audio, Photos and Video independently.
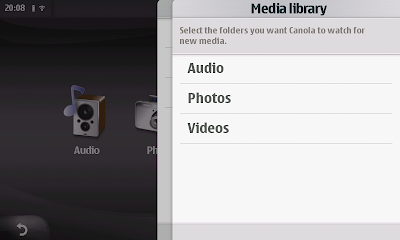
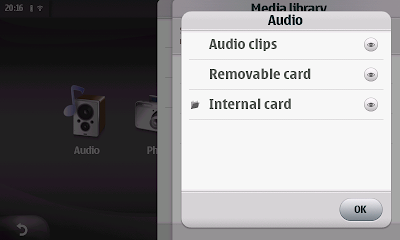
2f) Initially, when Canola is first started all watch folders are set to "off" here we are looking at the "Audio" folder options.
Note how the eye symbol has a cross through it indicating that they are not being watched ("Audio Clips" is internal to device, "Removable Card" is the external card, "Internal Card" is removable/replaceable on N800 and None removable/replaceable on N810)
2g) By selecting the eye symbol we can switch between non watching (eye Crossed) to watching (eye normal) which indicates that from this Audio folder level and below, each area is being watched.
2h) Here we are looking at the "Photo" folder options. (All being Watched)
2i) Here we are looking at the "Videos" folder options. (All being Watched)
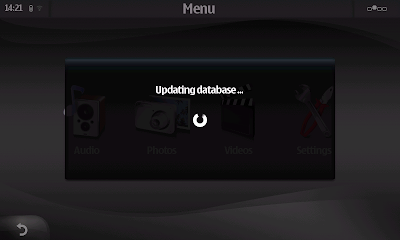
2j) Generally when changes are made to Watched folders and or items are added or deleted from the watched folders, when you next switch back to Canola UI you will see "updating Database"
Forward to Page 3.
Canola2 Beta Howto, General (Page 1)
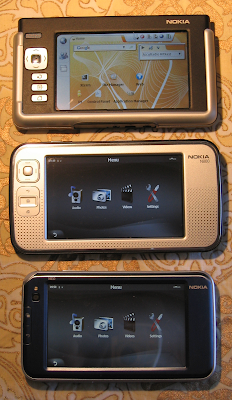
As you can see from my image above, currently the Nokia 770 appears unloved in relation to it's own Nokia children the N800 & N810 i.e. No running installation of Canola2 beta. However any day now, there should be a an update to the Canola2 beta "2.0.0~beta1-maemo.1" which (in addition to bug fixes and improvements) will enable the software to be installed on the Nokia 770 and OS 2006.
In readiness for this date, I have prepared a set of screen captures to illustrate how Canola2 Beta operates on all our Nokia Internet Tablets.
1a) Start Canola from the application menu, (Installation defaults Canola to Extras menu)
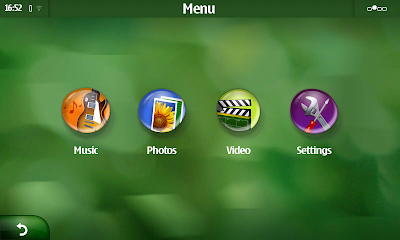
1b) After a few moments the Canola home Menu screen should appear.
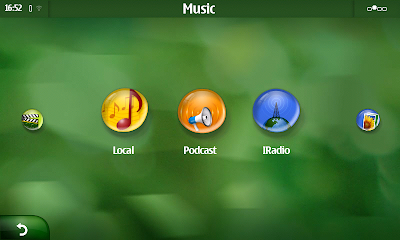
1c) Clicking on the Music Icon, in the Menu, provides Local, Podcast & IRadio options
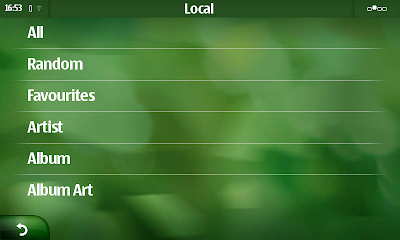
1d) Clicking on the Local icon, provides a list of options for local music which can be scrolled up/down, with a flick of the stylus or finger, (Kinetic scrolling)
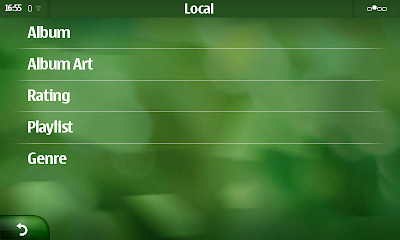
1e) Scrolling down, presents remaining options under Music, local.
Basically the above images illustrated how the menu structure of Canola Operates from the home menu of Canola.
Note: The return arrow in the bottom left hand corner of the User Interface UI, this button allows us to return up through the menu structure. Also be aware that pressing and holding this option is the quickest way to get to the top home menu (Whenever you can select this icon).
Forward to Page 2
Subscribe to:
Posts (Atom)